
Standard Shelf Liner Package

Standard Shelf Liner Package
Supplies Required:
Measuring tape
Straight edge or ruler
Rotary cutter (or a rotary cutter and ruler combo as demonstrated in the video)
Scissors
Cutting mat
Pen and paper
Shelf liner (12” for shallow spaces and 24” for deeper drawers and cabinets)
Flat surface - table or countertop
Step-by-Step Guide:
Step 1: Empty Out the Shelf Remove any items from the shelf or drawer before placing the liner.
Step 2: Measure the Space Begin by measuring the length and then the width or depth using a soft tape measure for precise measurements. Note down the dimensions to the quarter inch.
Step 3: Record Dimensions Ensure consistency in recording your measurements. For example, always record the length first if it will be cut first to avoid confusion. Consider using a dedicated notebook for recording measurements.
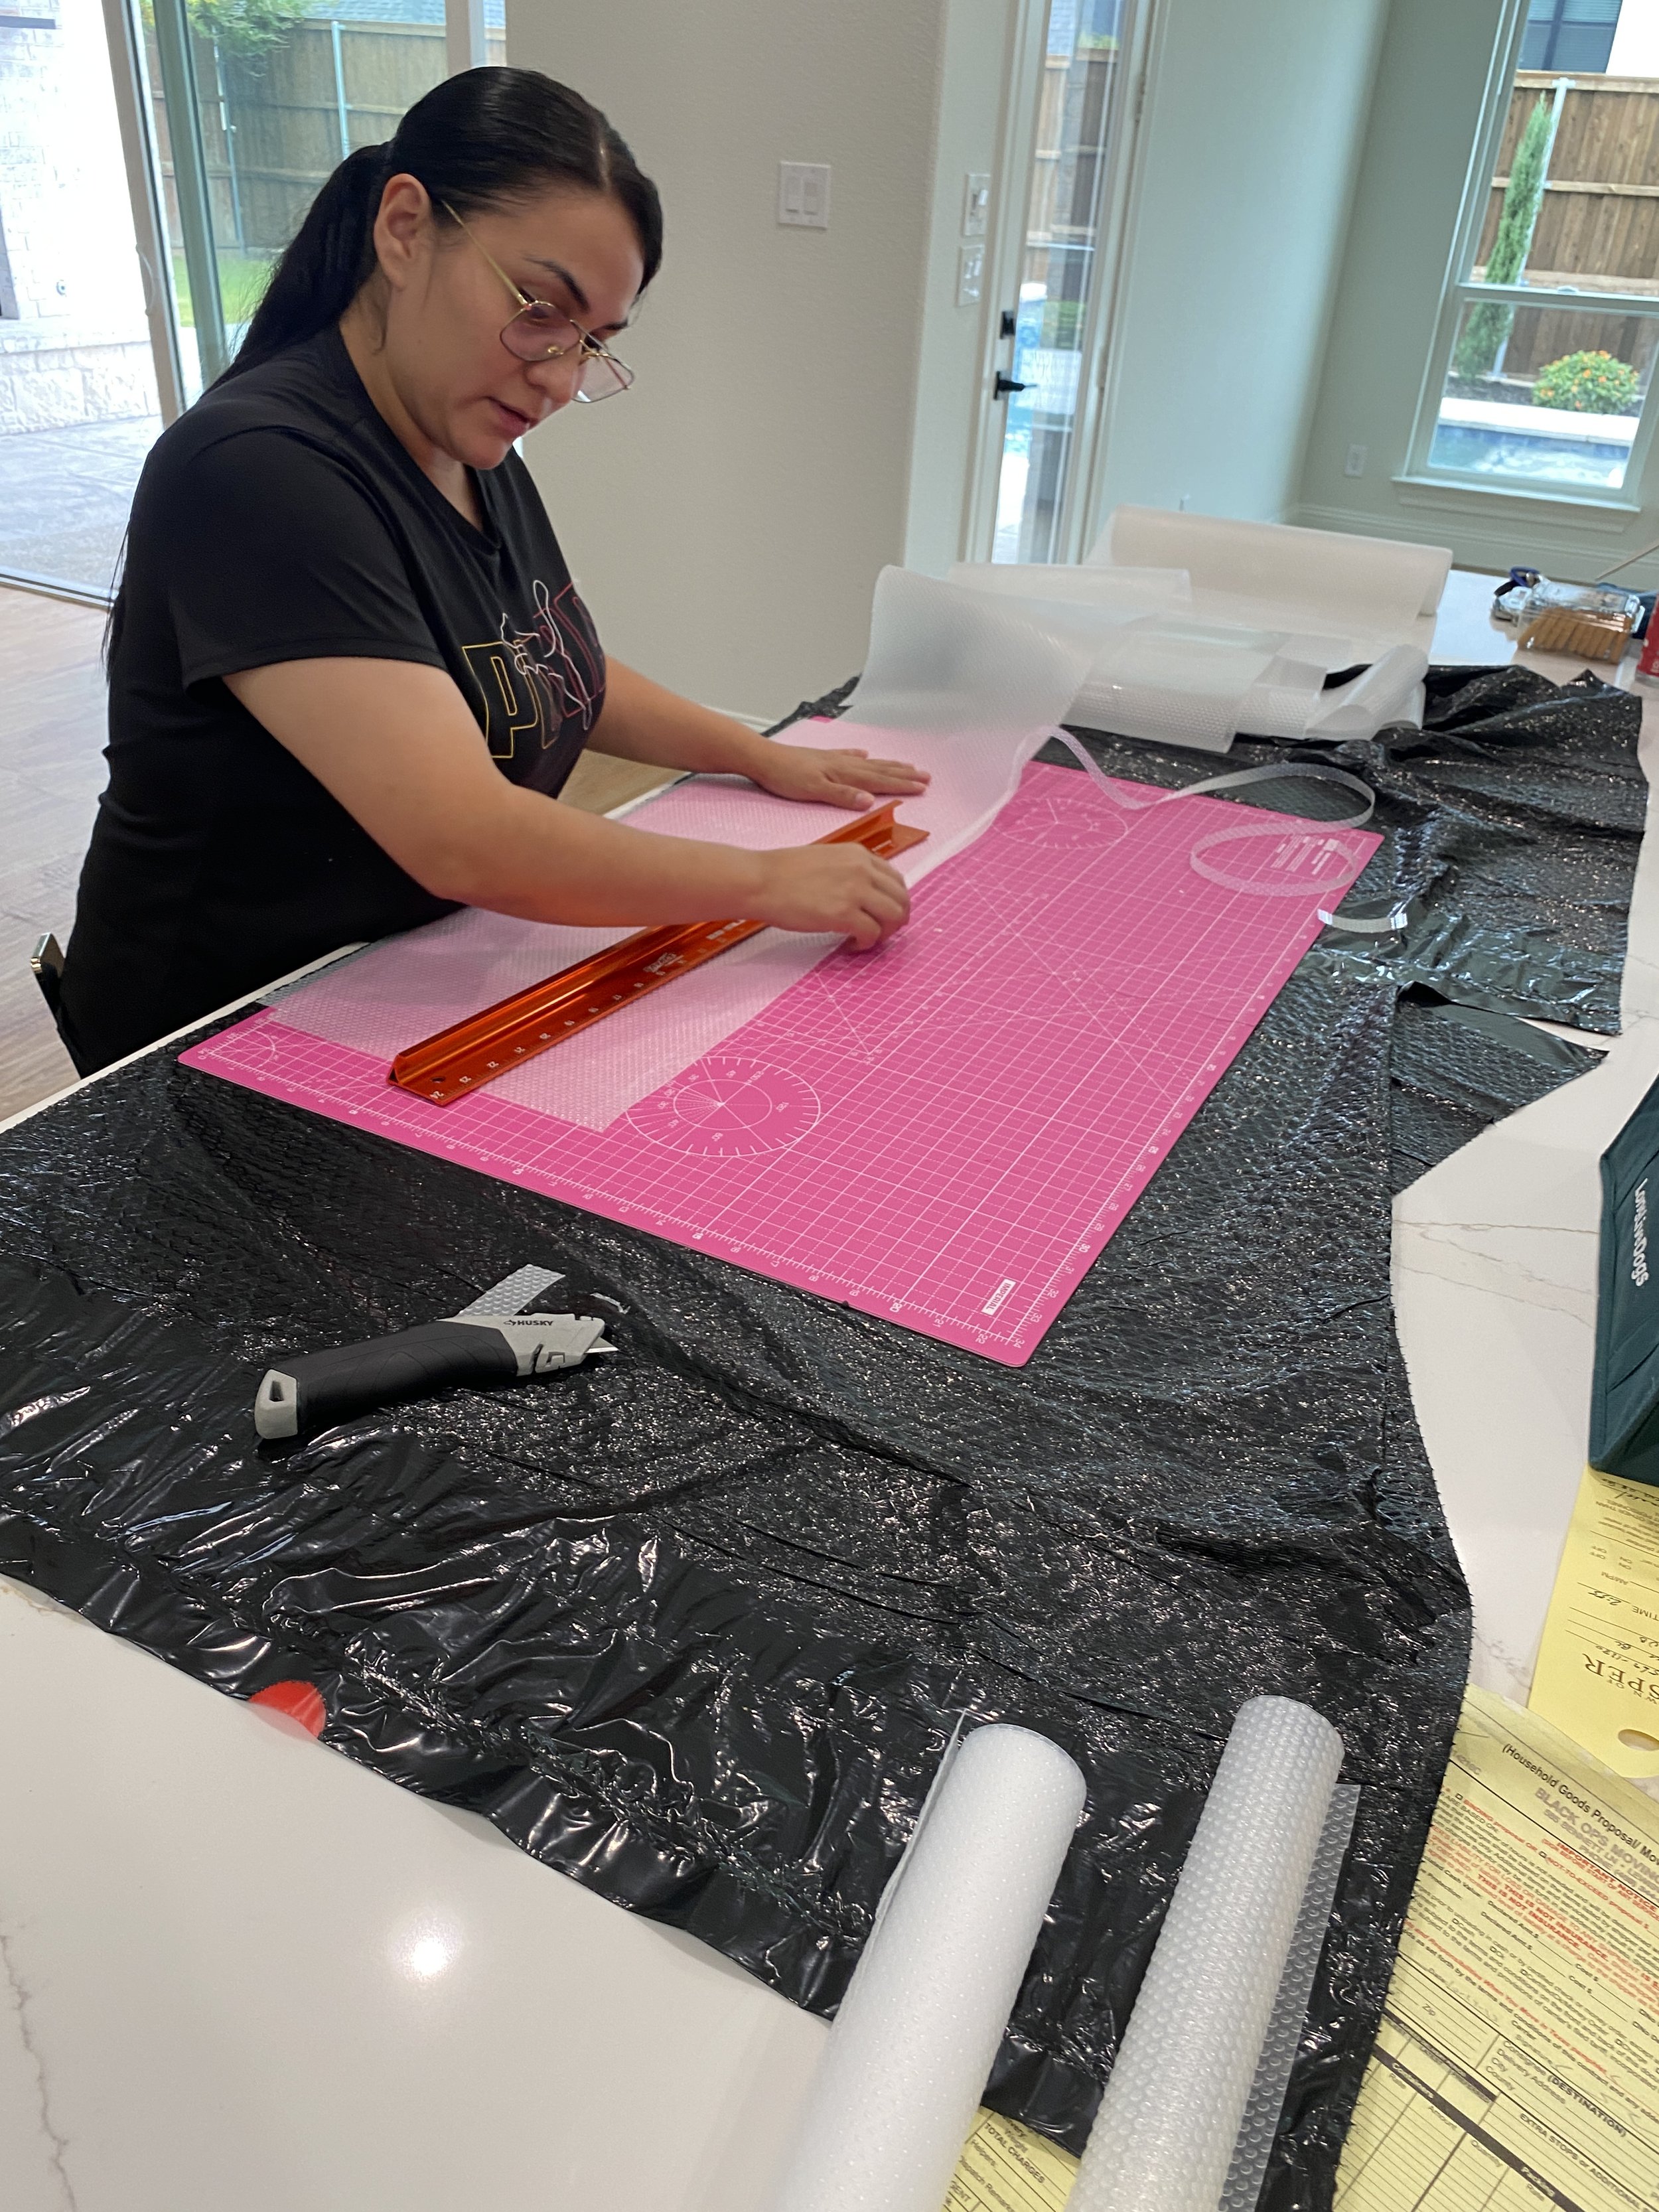
Step 4: Roll Out the Shelf Liner on the Cutting Mat Unroll the liner with the smooth side facing up, aligning its edges with the cutting mat. Trim the edge if necessary to start with a clean, straight line, as the manufacturer's edge can sometimes be uneven. Clear ribbed shelf liner is recommended for its ease of cutting and cleaning.
Step 5: Measure and Mark Where to Cut Use small pen tick marks, as they can be easily removed with a rub of a finger, eliminating concerns about markings staying on the liner after cutting.
Step 6: Cut Length and Width with Rotary Cutter and Straight Edge Maintain consistent direction with the ridged lines in all drawers and cabinets. Start by cutting the length, and then use scissors with the ridges as a guide to cut the liner to fit the width or depth of the space.
Step 7: Roll in the Opposite Direction to Help Flatten While the liner will flatten out over time, especially when items are placed on top of it, it can be beneficial to give it a quick roll in the opposite direction.
Step 8: Wipe Out the Shelf Use a rag to wipe out the shelf, ensuring it is free of dust and crumbs.
Step 9: Place the Liner Smooth Side Down Position the liner with the ribbed side facing up, providing items with a slight grip to help hold them in place.
Step 10: Replace Items Return the dishes or items to the lined shelf, following the same arrangement or creating a new organized layout. Enjoy your neatly lined and organized space!